 International
 Singapore
 Malaysia
 Thailand
 Vietnam
รถเข็นของคุณว่างเปล่า!

6 Effective Ways to Remove 3D Prints from The Bed
- Abdulrahman Alhamed
- 07 Feb 2023
- Tutorial
- Beginner
- 732
Removing a 3D print from the build plate can be a challenging task, especially when it is firmly attached. The ideal scenario is to remove the print easily and without causing any damage to either the part or the build plate. However, this is not always straightforward, especially when the first layer has strong adhesion, as is often the case with materials like PETG that stick well to many surfaces. In this article, we will provide six effective methods for removing 3D prints from the build plate, detailing what each method entails, the required tools, and how to execute it.
#1 Manual Extraction
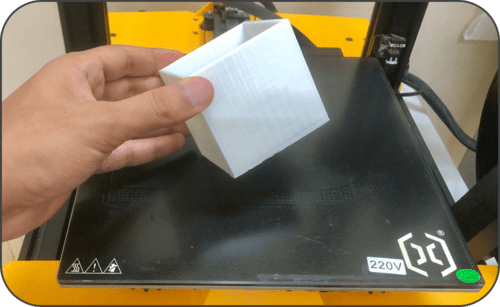
The first approach involves the utilization of physical strength. This can be done by using both hands, one to hold the build plate steady and the other to push or pull the print off the surface. This technique carries a risk of injury as the sudden release of the print may cause it to hit nearby objects. Therefore, it is advisable to exercise caution when using this method.
This technique is most effective on sturdy prints, as intricate or delicate prints with many small features may get damaged during the process, especially if there is no smooth surface to grip.
#2 Use a Flat Blade
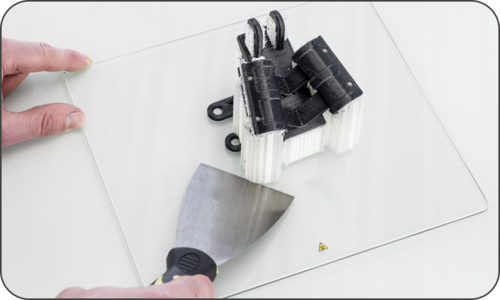
Source: makerbot
The second method involves the use of a flat blade tool, such as a putty knife or a spatula. The flat blade is inserted between the print and the build plate, and then gently pried up to loosen the adhesion. This method requires careful and precise execution to avoid damaging either the print or the build plate. It is most effective on prints that have a flat bottom surface and minimal small details, as a flat blade may damage more intricate or delicate prints.
#3 Flossing Method
Source: instructables
An alternate method for removing a stubborn part from the bed is flossing, which involves the use of a floss or wire. The process involves looping the floss or wire around the base of the print, then moving it back and forth to generate friction which will eventually help to loosen the part from the bed. It's important to be gentle when flossing to avoid breaking the part or leaving marks on the build plate.
#4 Cooling Method
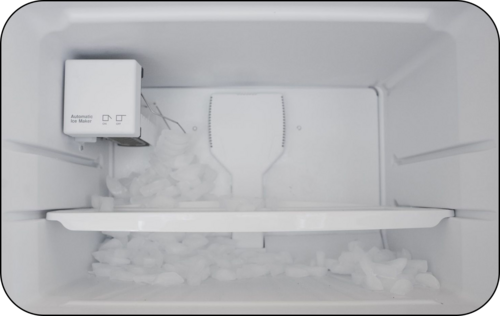
Source: realsimple
Allow the build plate and print to cool to room temperature. Then, place the build plate in a cool environment, such as a fridge or freezer, or near a cold air vent, for a few minutes. This will cause the print to contract and come off more easily. Be cautious when using a glass build plate, as rapid temperature changes can cause thermal shock.
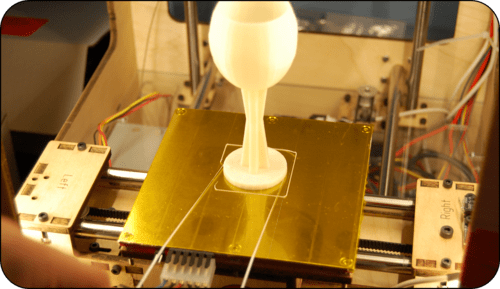
#5 Enable a Raft
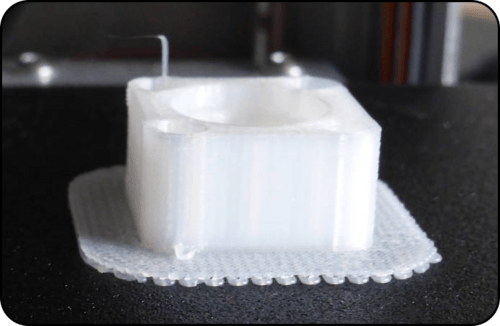
Source: electronicsweekly
A raft is a layer of material that is printed beneath the main part to help it stick to the build plate and prevent warping. This can also make it easier to remove the part from the build plate, as the raft is designed to be sacrificial and will separate from the main part when the print is complete. To use a raft, simply enable it in your slicing software and print your part as you normally would. After the print is finished, use a flat blade or similar tool to gently pry the part and the raft away from the build plate. The raft should come off easily, leaving the main part in place.
Keep in mind that using a raft will increase the overall print time and material usage, as the raft takes up additional space and requires more material to be printed. However, it can be a helpful tool in preventing warping and making it easier to remove parts from the build plate.
#6 Change The Build Plate
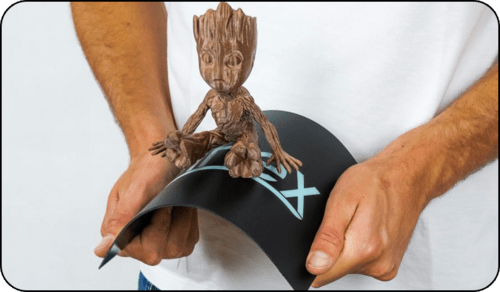
Source: 3dprintingindustry
The last option is to use a flexible build plate. These build surfaces are designed to bend, making it easier to remove prints. When selecting a flexible build plate, make sure it is compatible with your printer and has the correct dimensions. Flexible build plates also have various surface finishes, allowing you to choose the best one for your needs. To use, simply attach the plate to your printer, level it, set the Z offset, and print. After printing, bend the plate to pop off the print. If the print doesn't come off immediately, bend it in multiple directions.