 International
 Singapore
 Malaysia
 Thailand
 Vietnam
รถเข็นของคุณว่างเปล่า!

Get Started with Blynk 2.0 on micro:bit | IoT for Beginners
- Abdulrahman Alhamed
- 02 Dec 2022
- 890
Blynk is an IoT platform that is used to control hardware remotely, it can display sensor data, it can store data, visualize it, and do many other cool things. In this tutorial, we will learn how to get started with the new platform of Blynk on micro:bit using the Grove WiFi 8266 module.
Video Tutorial
Components Required
Connection
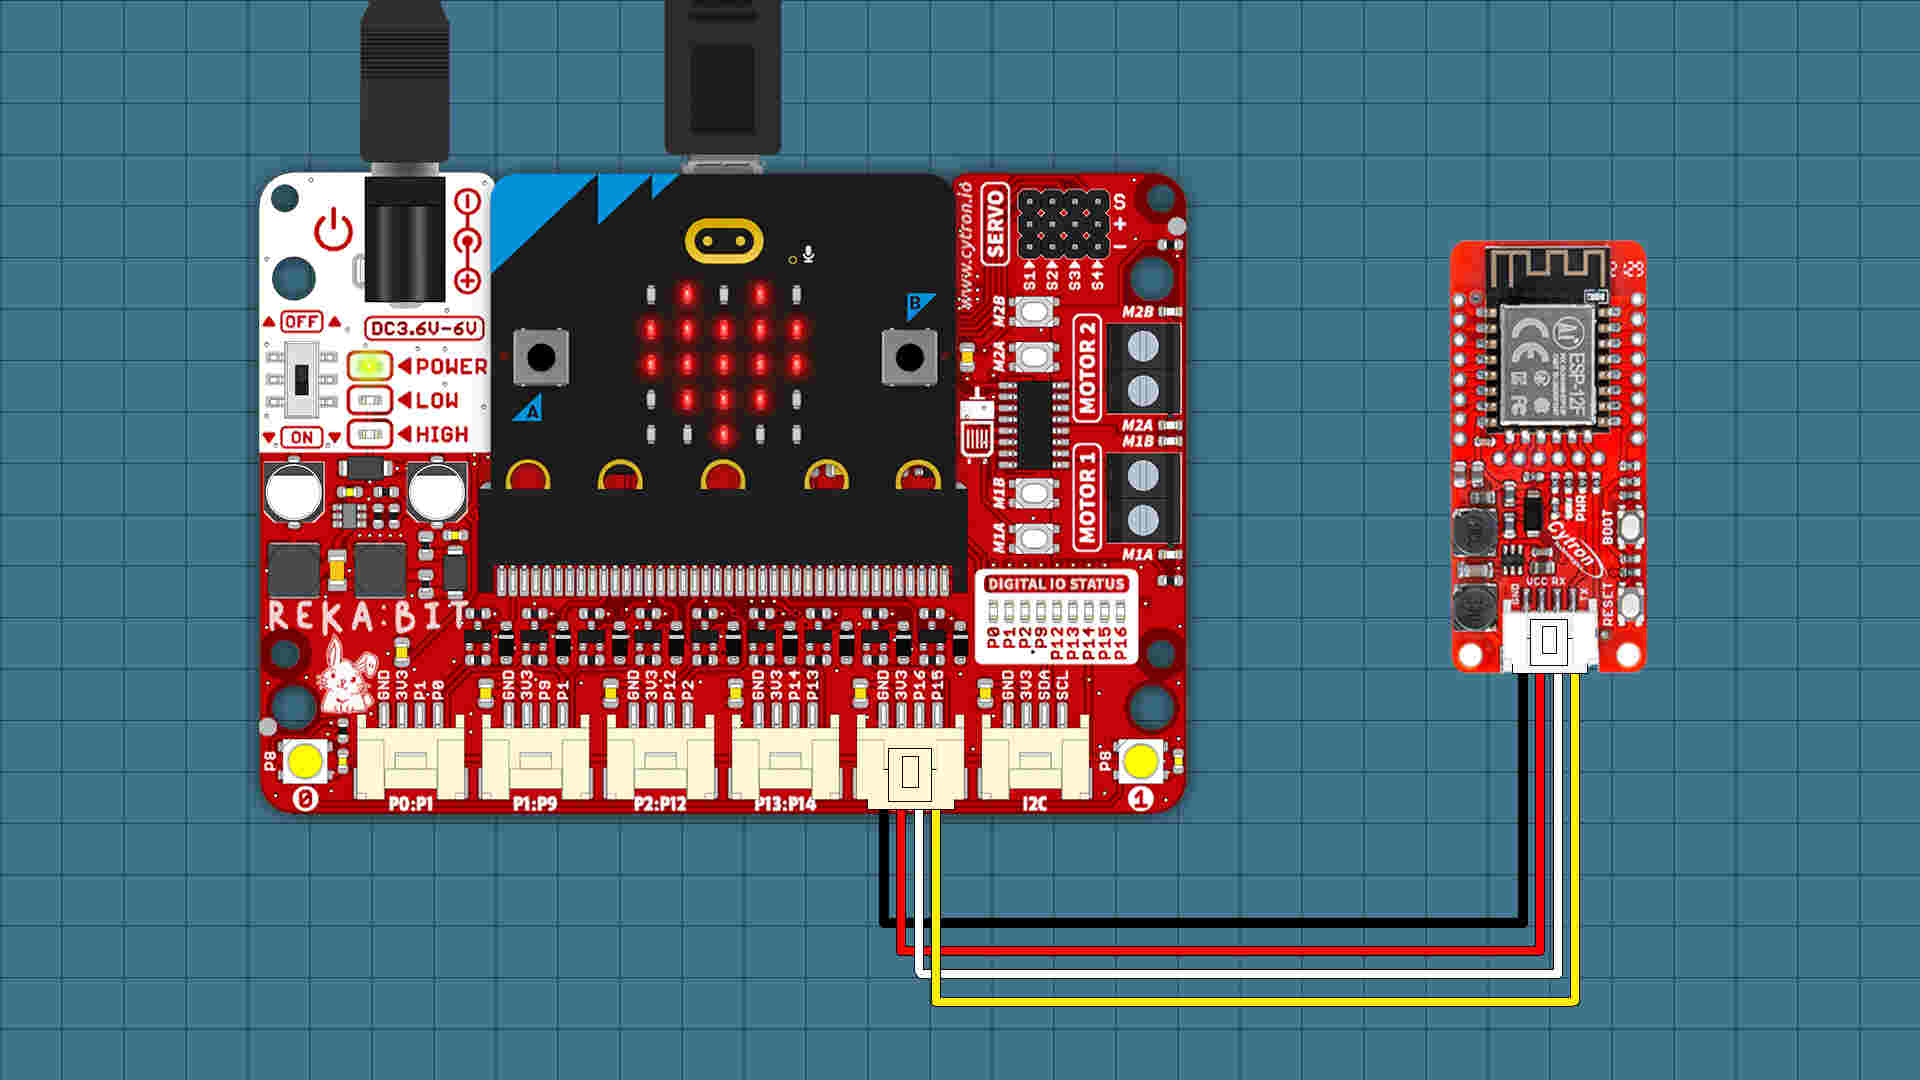
By following the diagram above:
- Connect the grove wifi module to P15 and P16
Blynk Setup
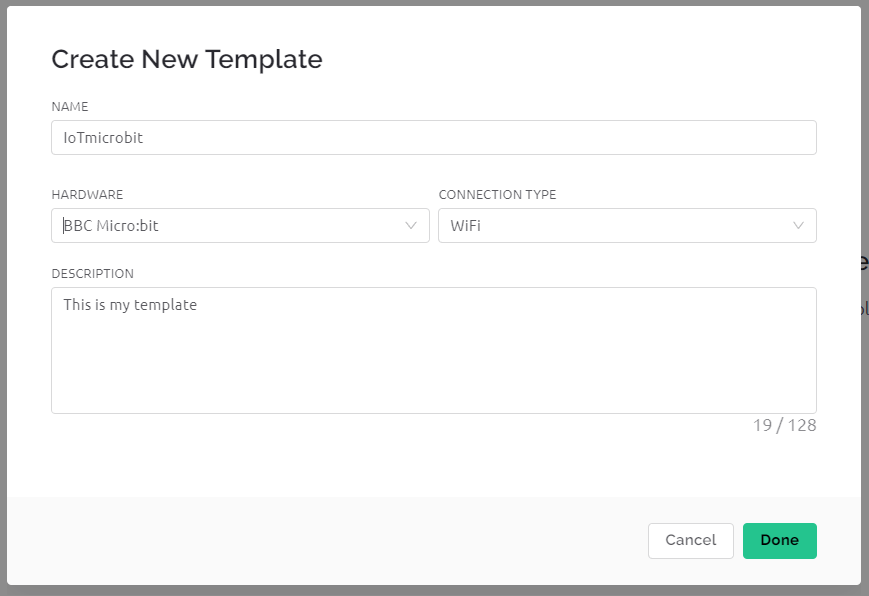
- go to Blynk website, create a new account and log in
- create a new template
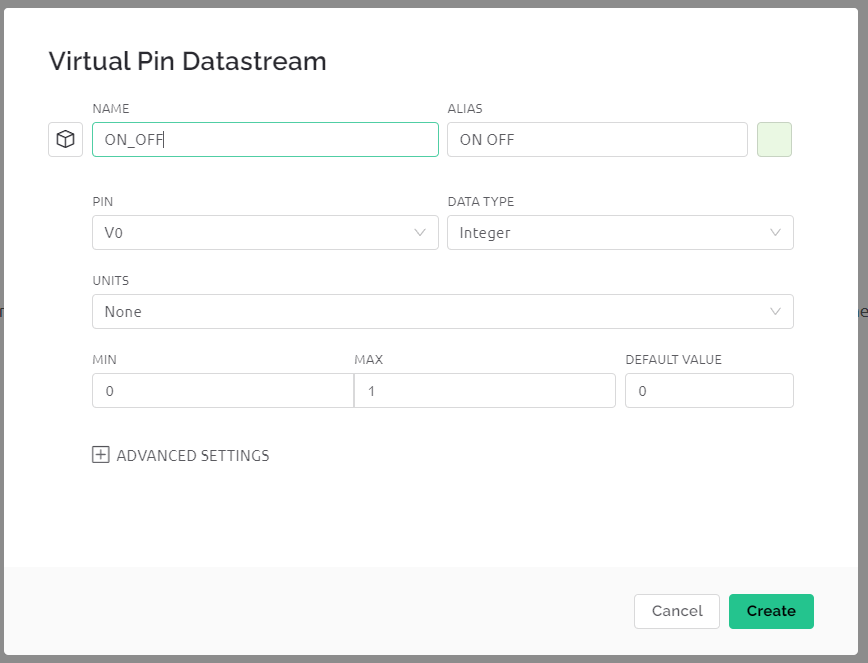
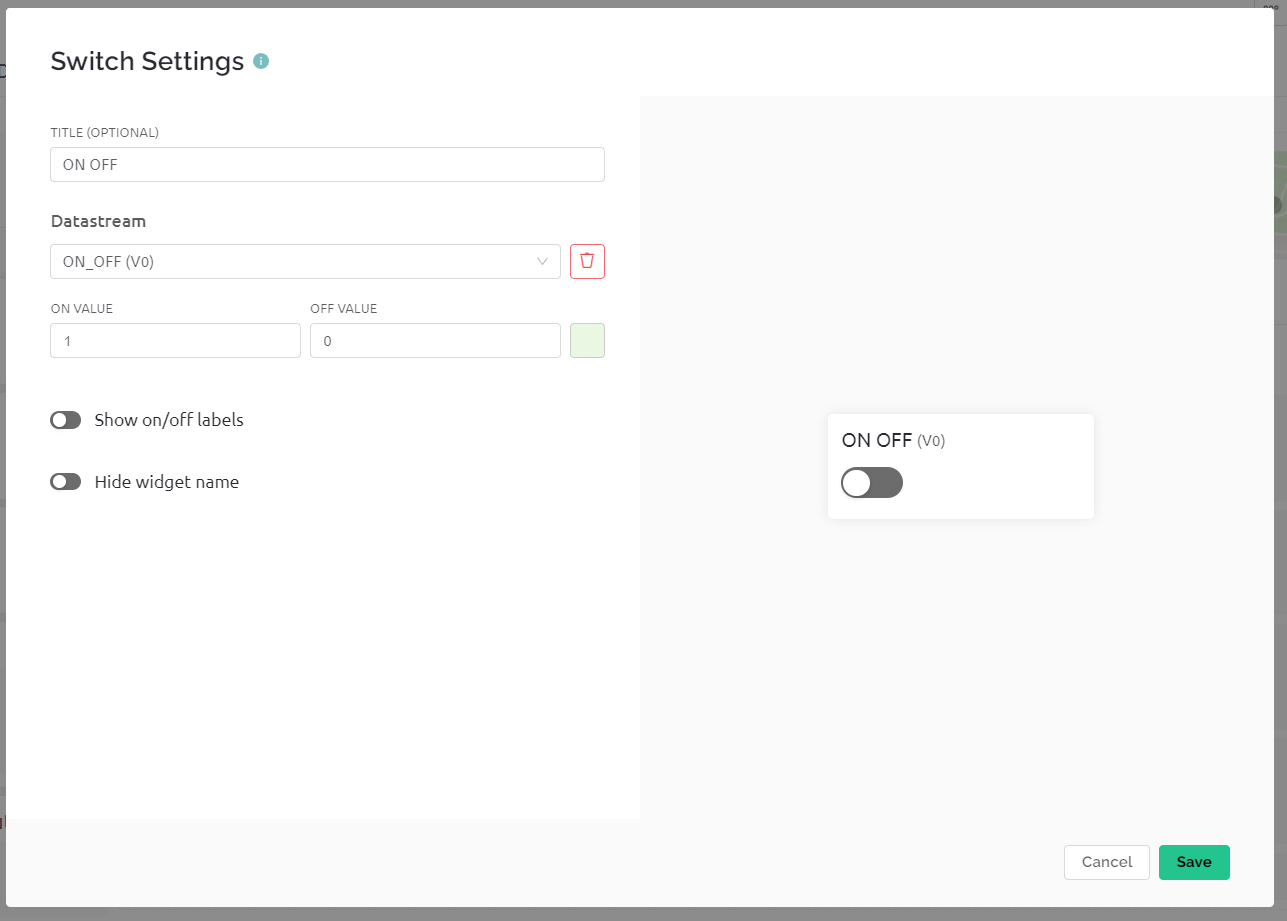
- from datastream add a virtual pin
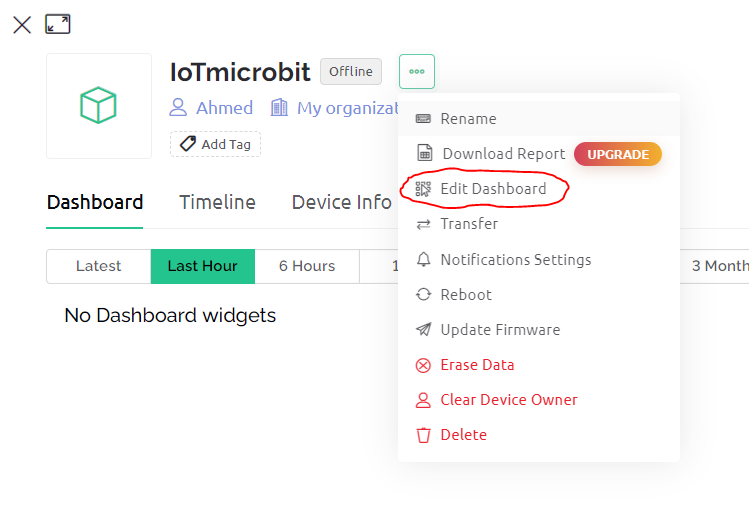
- then add a new device
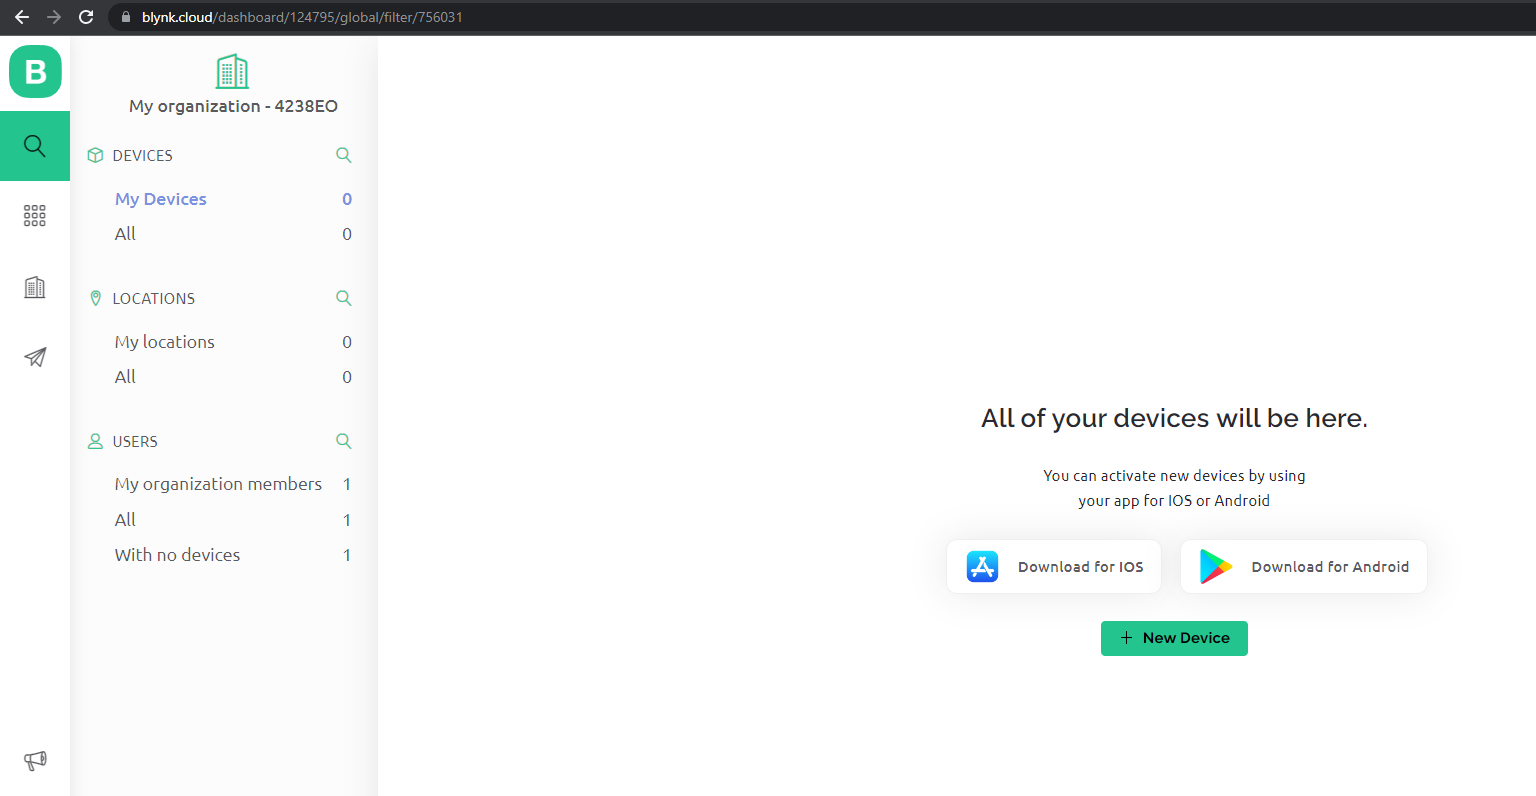
- select the template that you have created
- from web dashboard add a switch
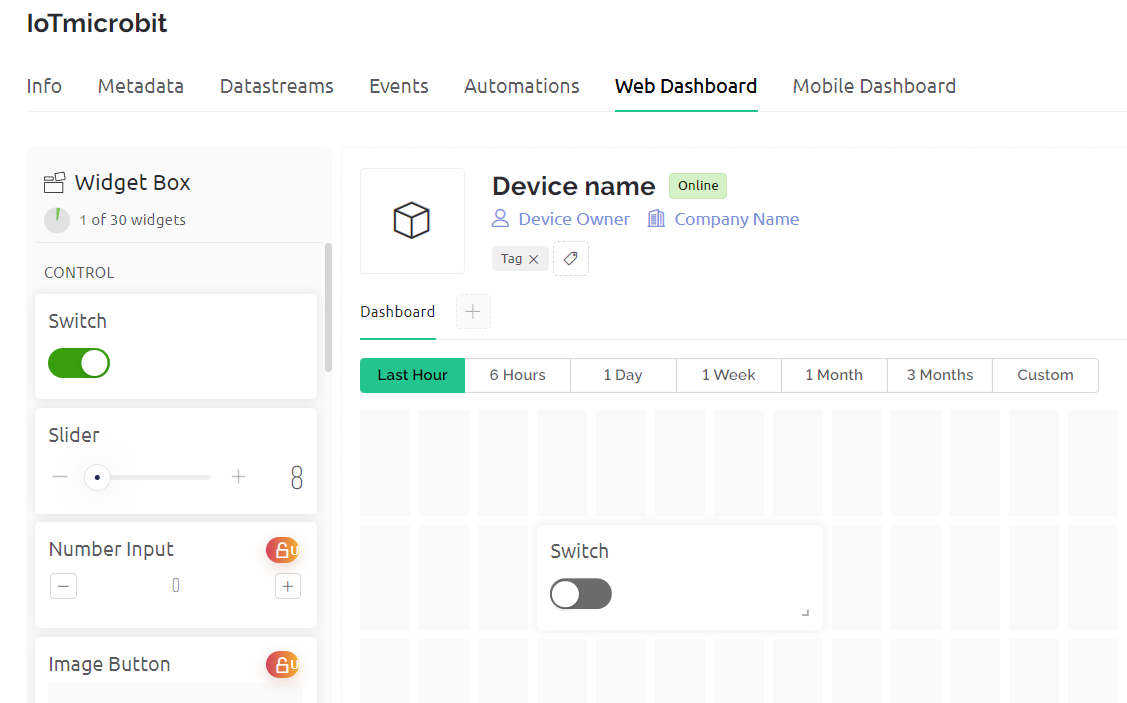
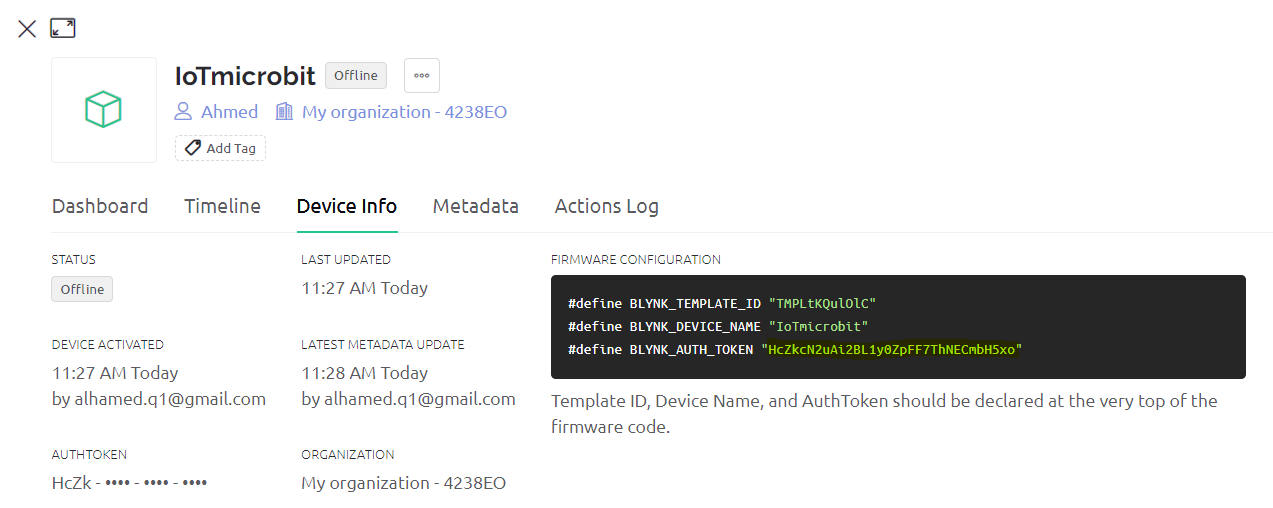
- now copy the token and let’s start making the code for micro:bit
Code

Connect your micro:bit to your computer and open MakeCode editor to start programming.
- Add “ESP8266 Cytron” extension and follow the code block in the picture above
- Type in the name and password of your WiFi
- Paste the Token that you have copied from Blynk, and type in "V0" in Pin section
- After completing the code, download it on microbit
You can also view and edit the code by clicking here!
Project Complete
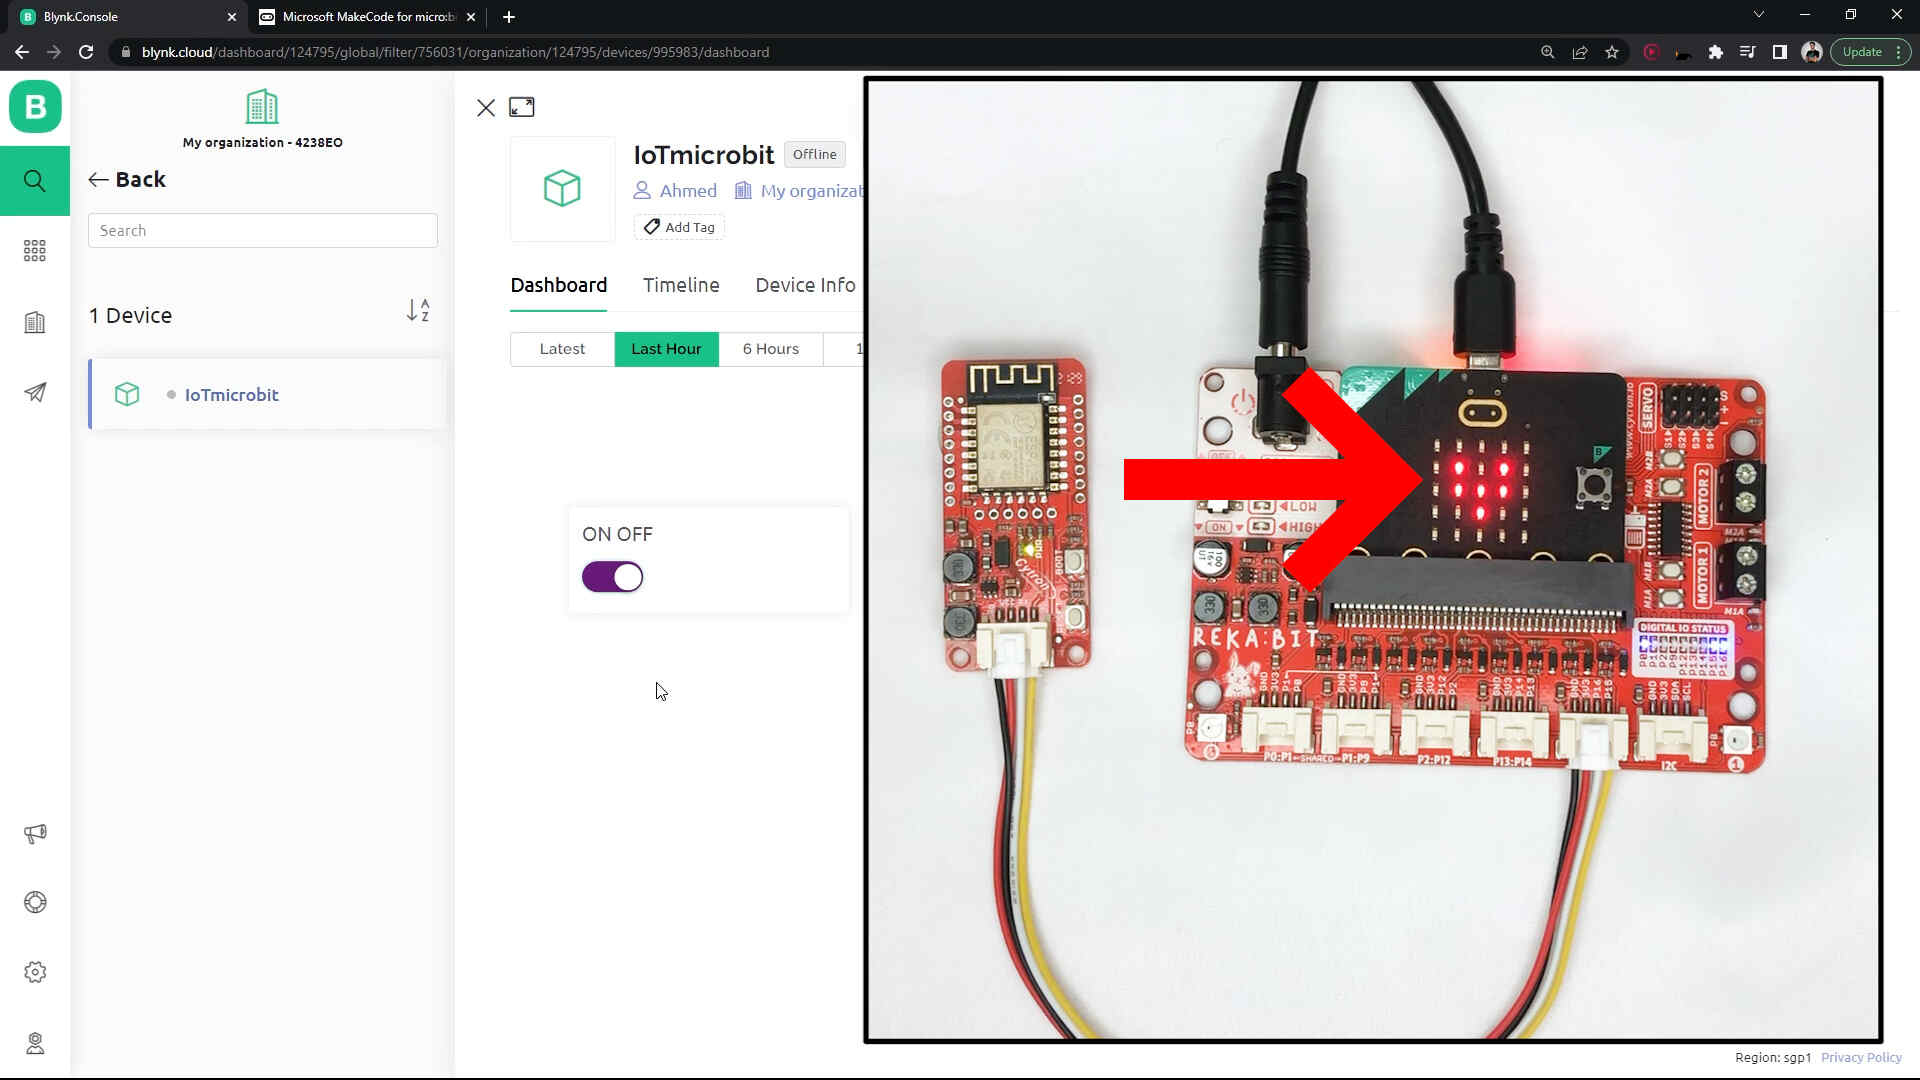
Now you can control the micro:bit via Blynk, go ahead and improve this code and make great IoT projects.
โพสต์ที่เกี่ยวข้อง
