 International
 Singapore
 Malaysia
 Thailand
 Vietnam
รถเข็นของคุณว่างเปล่า!
Lesson 3 : Camera
- Abdul Salam A Haris
- 09 Mar 2023
- Tutorial
- 521
The official Raspberry Pi Camera Module is compatible with the CM4 Maker Board. It only needs to be connected to the CSI camera port in order to take clear pictures and videos.
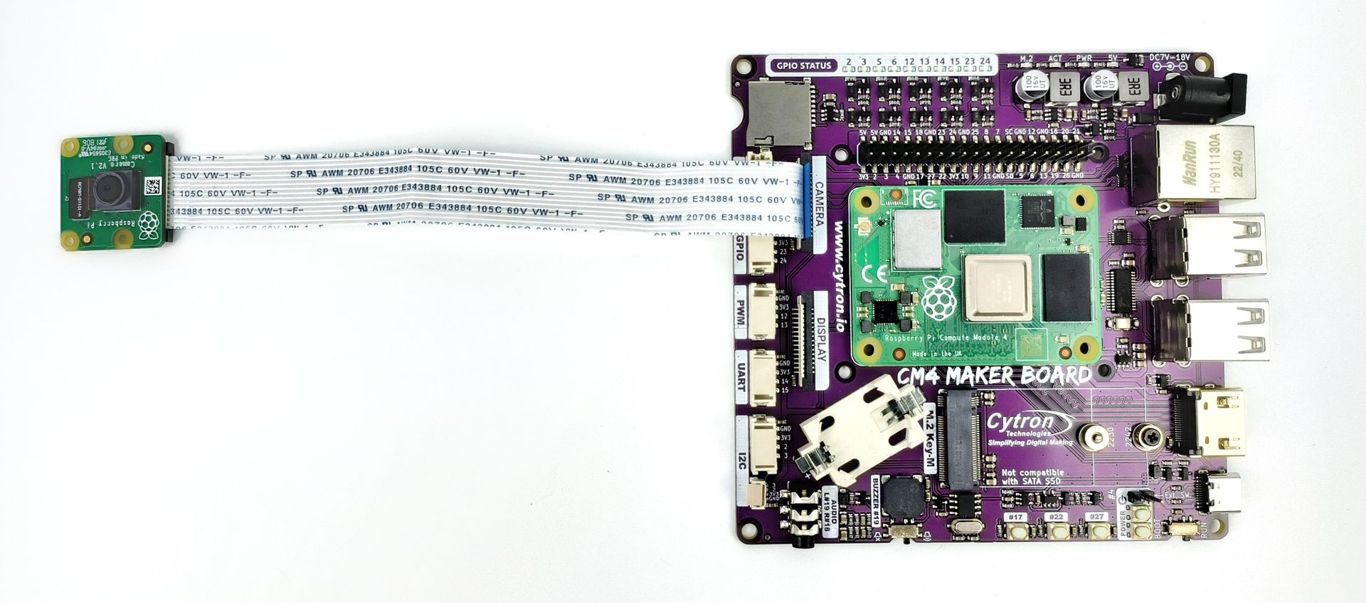
Figure 1: Raspberry Pi Camera Module.
To use the official Raspberry Pi Camera Module we need to download the corresponding blob file.
Run the following command from the terminal in order to use them.
sudo wget https://datasheets.raspberrypi.com/cmio/dt-blob-cam1.bin -O /boot/dt-blob.bin
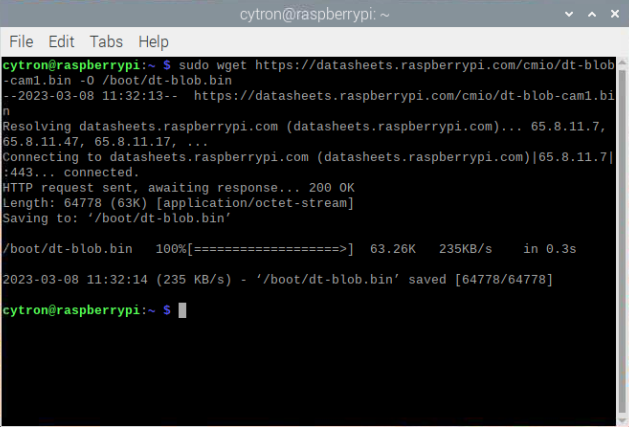
Figure 2: The output from on Raspberry Pi terminal.
Reboot the CM4 to load the new dt-blob.bin file.
Next, you need to configure the legacy camera:
sudo raspi-config
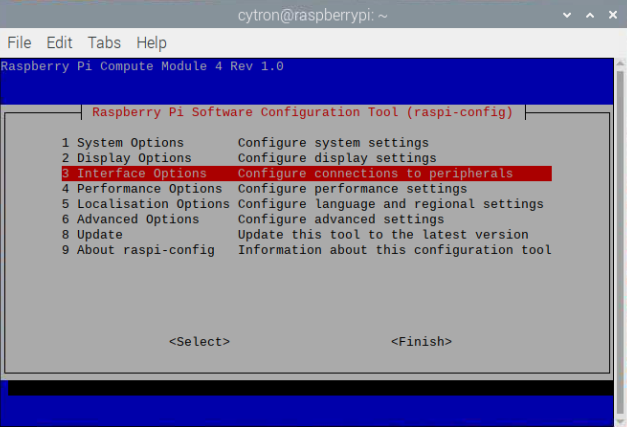
Figure 3: raspi-config.
Then, select the Interface Options, and enable the Legacy Camera support.
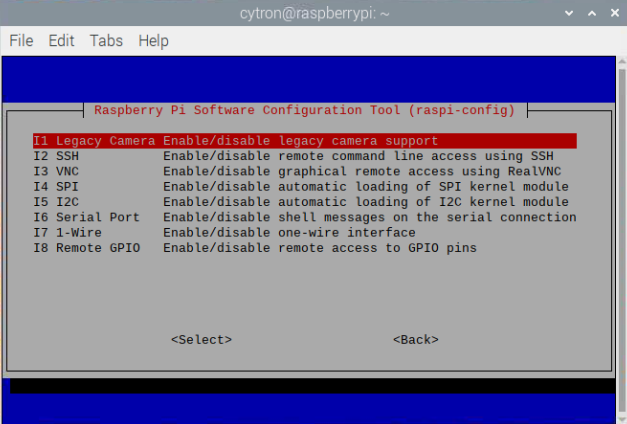
Figure 4: Enable Legacy Camera Support.
Reboot the CM4 to apply the change.
If you want to save the pictures or videos on the Desktop directory instead root directory, you can use this command:
cd Desktop/
You can test the camera using this command:
raspistill -o test.jpg
Enter this command to record a 5-second video:
raspivid -o testvideo.h264 -t 5000
You should get the image and video saved in your current directory.
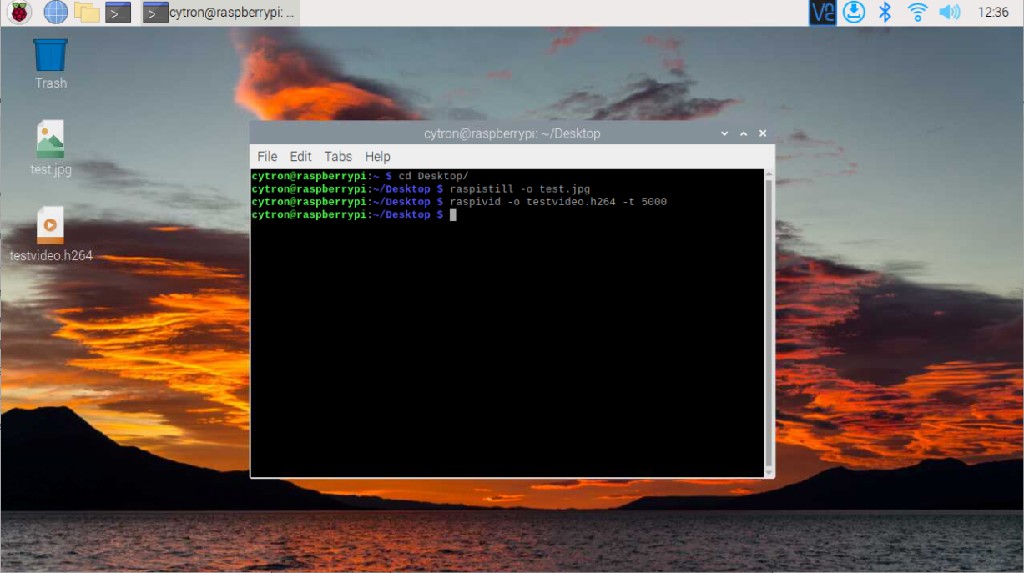
Figure 5: Image and video file.
อุปกรณ์ฮาร์ดแวร์
 Long Lead Time
RPi Compute Module 4 with Wireless 4GB RAM Lite
THB2,454.75 THB2,294.16
x 1 หน่วย

Raspberry Pi 8MP Camera Module V2
THB700.00 THB654.21
x 1 หน่วย

CM4 Maker Board and Kits
ไม่สามารถใช้ได้
x 1 หน่วย