 International
 Singapore
 Malaysia
 Thailand
 Vietnam
รถเข็นของคุณว่างเปล่า!
Lesson 6 : Audio Jack
- Abdul Salam A Haris
- 09 Mar 2023
- Tutorial
- 282
Are you ready to learn how to enable the Audio Jack functionality for your CM4 Maker Board? It's pretty simple and straightforward. Just follow these easy steps, and you'll have it set up in no time!
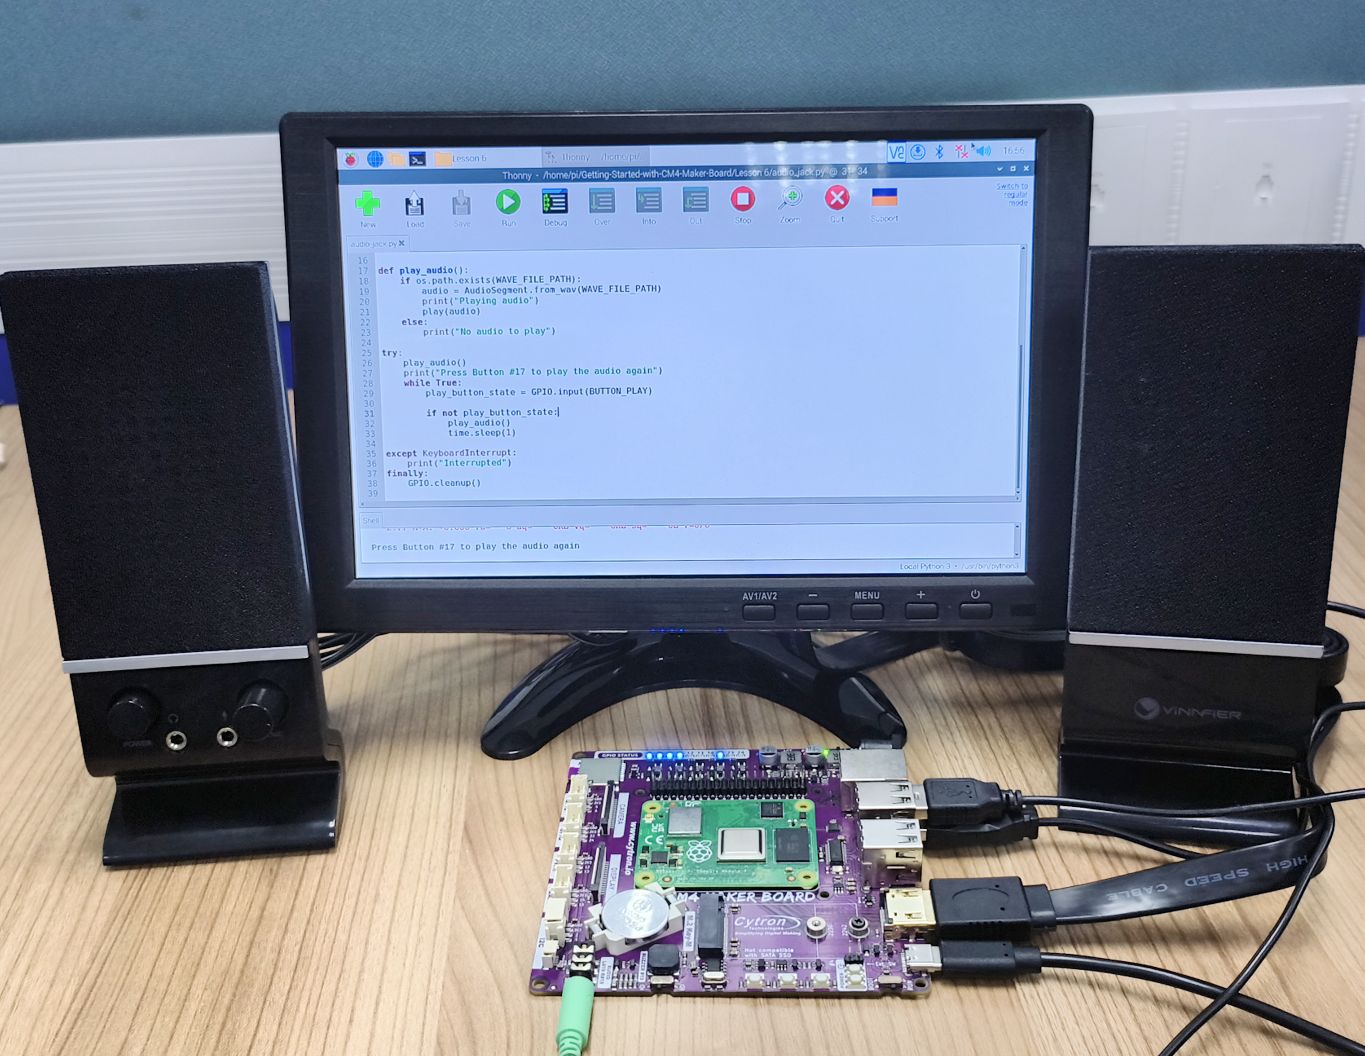
Figure 1: CM4 Maker Board with External Speaker.
To enable Audio Jack functionality, run the following command, if you have not run it on Lesson 4.
curl -L tinyurl.com/setup-maker-cm4 | sudo bash
Reboot the CM4 to apply the changes.
Select the Audio Jack, in case your HDMI monitor has audio output, make sure you select the Audio Jack by right-clicking on the speaker icon in the top right corner.
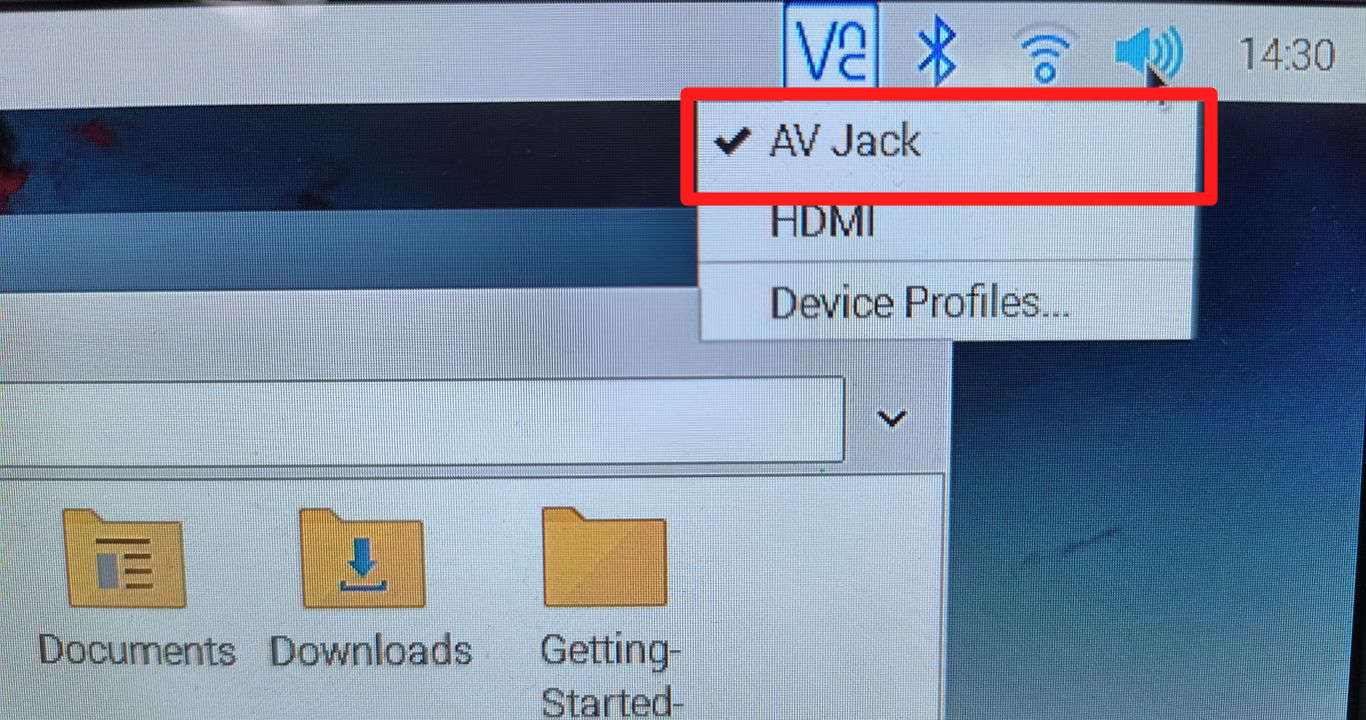
Figure 2: Select the Audio Jack.
The left Audio output pin shares the same pin as the buzzer, so disable the buzzer for clearer audio.
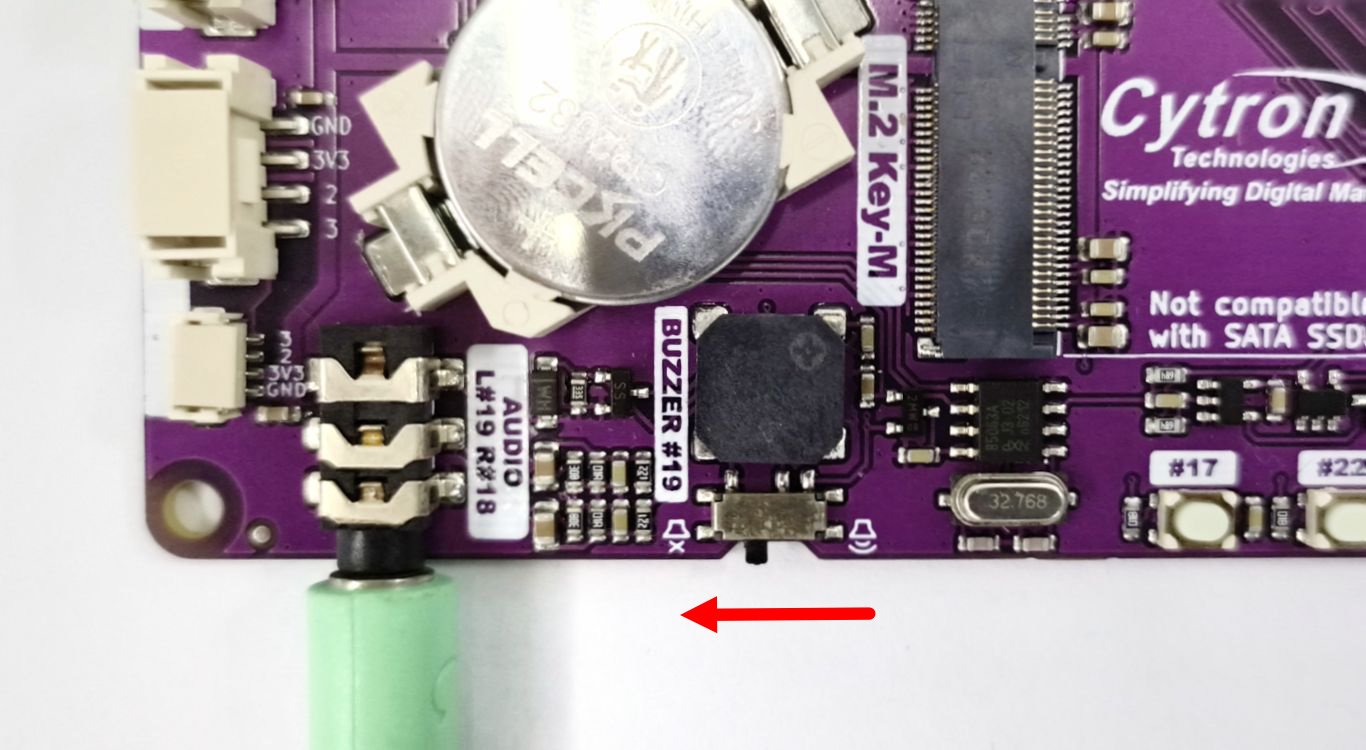
Figure 3: Switch off the Buzzer.
Install the necessary libraries You'll need a couple of libraries to make this work. Install them using these commands:
pip3 install pydub

sudo apt-get install ffmpeg
Download files from GitHub If you haven't already, grab the files from GitHub with this command:
git clone https://github.com/CytronTechnologies/Getting-Started-with-CM4-Maker-Board
Navigate to the Lesson 6 directory and run the code with these commands:
cd Getting-Started-with-CM4-Maker-Board/'Lesson 6'/

python3 audio_jack.py
Press Button #17 if you want to repeat the audio.
And that's it! You've successfully enabled the Audio Jack functionality for your CM4 Maker Board. Enjoy your newfound audio powers!
อุปกรณ์ฮาร์ดแวร์

CM4 Maker Board and Kits
ไม่สามารถใช้ได้
x 1 หน่วย