รถเข็นของคุณว่างเปล่า!

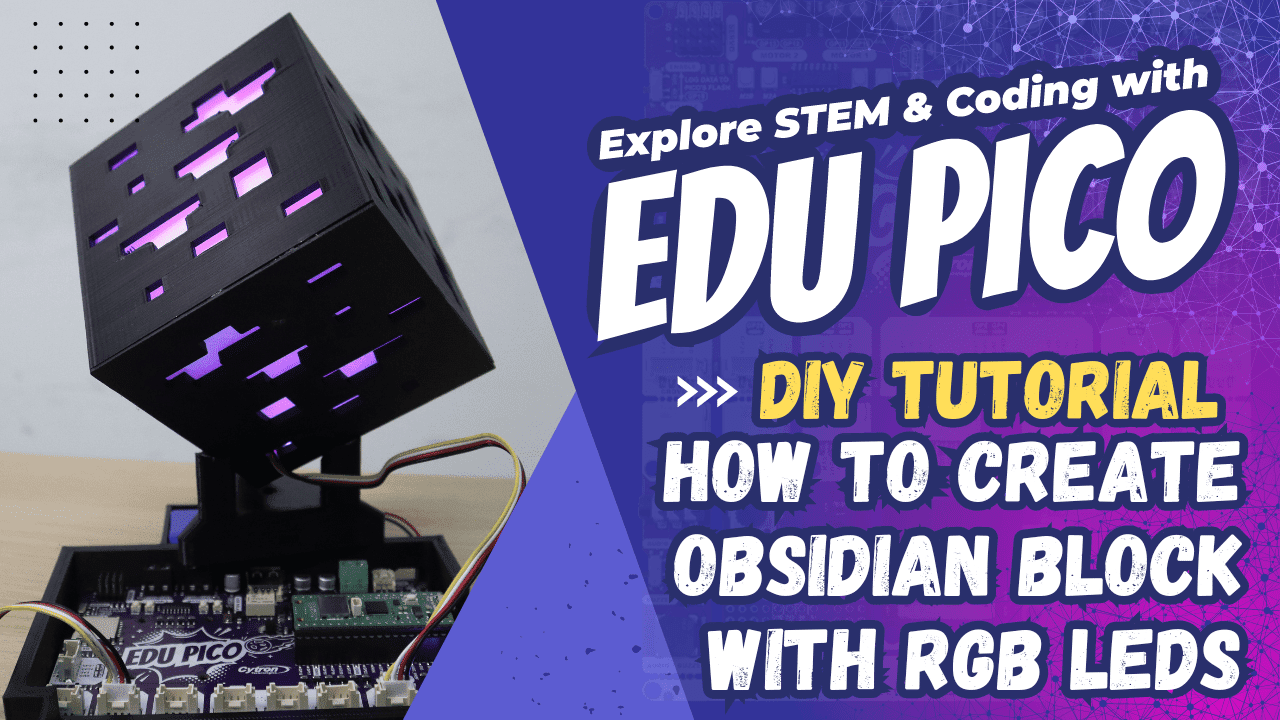
Obsidian Block With RGB LEDs Using EDU PICO
- Solehin Rizal
- 26 Mar 2024
- Tutorial
- Advanced
- 278
Learn how to 3D print your own Obsidian block from minecraft and add colorful RGB LEDs powered by the EDU PICO.Simple, fun, and perfect for all skill levels.
Video Tutorial
Component Required
Step 1 : 3D Print part by part
Download the STL files here.
Slice the model files using your preferred slicing software.I’m using (Ultimaker CURA).
Print each part of the Minecraft Obsidian block separately. (The printing take around 1 day to finish depends on your 3D printer)
Note : For the inside block please use white filament or bright colour only !
Step 2 : Program the EDU PICO
Use Thonny IDE to upload the program.
Copy the example code and paste it on code.py
Run the code and test the RGB LEDs,potentiometer with the EDU PICO to verify its function.
Step 3 : Assemble the 3D Printed Parts
Before assembly 3D printed part,you need to break your RGB LEDs component from EDU PICO board.
Once finished, begin by assembling the 3D printed parts of the obsidian block according to the structure.
There will be another white block in the obsidian block.
After that,install RGB LEDs inside the block.Use double tape to attach RGB LEDs inside the block.
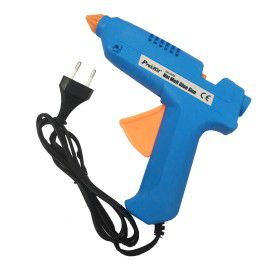
Lastly,use glue gun to securely attach the closure part.
Step 4 : Final Assembly
Carefully place EDU PICO to its base.
Power on the EDU PICO using battery or USB cable.
You've successfully created your own Minecraft Obsidian block using 3D printing and EDU PICO.
อุปกรณ์ฮาร์ดแวร์
Pro'skit 60W Hot Melt Glue Gun (11mm)
THB355.03 THB331.80
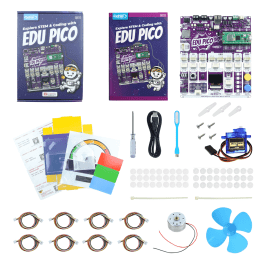
EDU PICO: Project & Innovation Kit for Pico W
THB2,270.00 THB2,121.50
 International
 Singapore
 Malaysia
 Thailand
 Vietnam

