 International
 Singapore
 Malaysia
 Thailand
 Vietnam
รถเข็นของคุณว่างเปล่า!

Sumo Robot: Let's Fighting
- Khairul_Tajudin
- 23 Jan 2024
- Tutorial
- Beginner
- 331
PART 4: Let's Fighting
To make your life easier, we've combined all the 4 programs into one and all the 4 programs (functions) is implemented as non-blocking function and will get called repeatedly from the main loop.
void loop() {
  // Edge is detected on the left.
  if (analogRead(EDGE_L) < EDGE_L_THRESHOLD) {
    // Back off and make a U-Turn to the right.
    backoff(RIGHT);

    // Toggle the search direction.
    searchDir ^= 1;
  }

  // Edge is detected on the right.
  else if (analogRead(EDGE_R) < EDGE_R_THRESHOLD) {
    // Back off and make a U-Turn to the left.
    backoff(LEFT);

    // Toggle the search direction.
    searchDir ^= 1;
  }

  // Edge is not detected.
  else {
    // Keep searching if opponent is not detected.
    if ( (digitalRead(OPP_FC) == HIGH) &&
         (digitalRead(OPP_FL) == HIGH) &&
         (digitalRead(OPP_FR) == HIGH) ) {
      search(searchDir);
    }

    // Attack if opponent is in view.
    else {
      attack();
    }
  }

  // Stop the robot if the button is pressed.
  if (digitalRead(START) == 0) {
    // Stop the motors.
    MakerSumo.setMotorSpeed(MOTOR_L, 0);
    MakerSumo.setMotorSpeed(MOTOR_R, 0);

    // Loop forever here.
    while (1);
  }
}
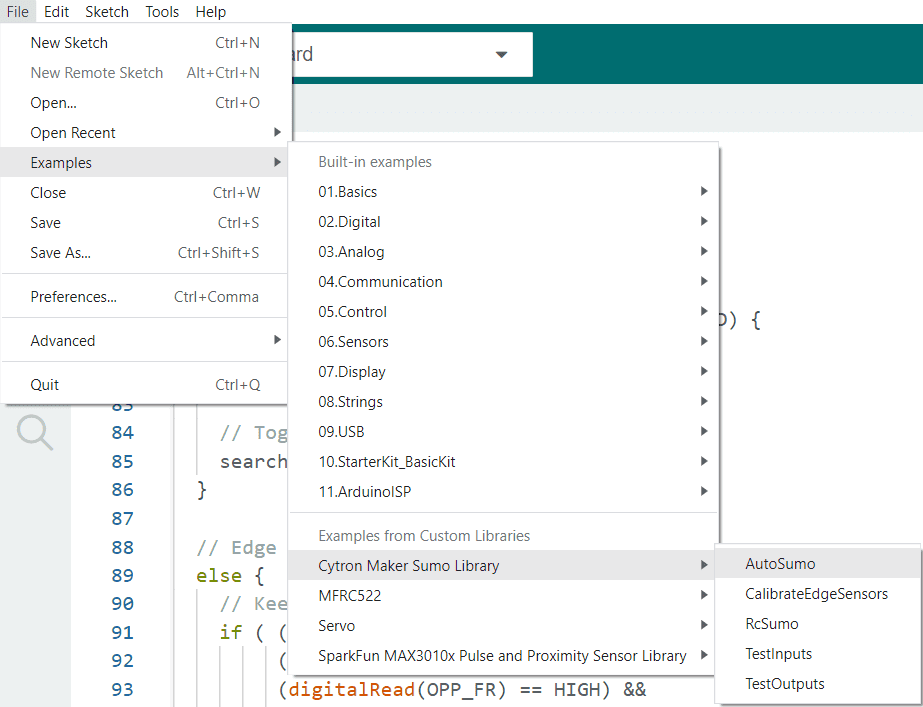
You can open the full sample program from Arduino IDE. File > Examples > Cytron Maker Sumo Library > AutoSumo
Note: You need to press the Start button and the robot will start after 1s. To reset the program, you can press the Reset button instead of turning off and on again the power switch.
Let's watch the robot in action now! (soon)
อุปกรณ์ฮาร์ดแวร์

Ikedo Mini Sumo Robot Pro Kit
THB5,000.00 THB4,672.90
x 1 หน่วย